
Knit Stitch
There are just two stitches in knitting: knit stitch and purl stitch. Both are worked in rows from right to left across your work, and are the same whether you are right or left-handed. Once you have mastered these stitches, they can be repeated in different combinations to make a huge variety of different fabrics.
Broadly, knitters have two main methods of holding their yarn while knitting. English style is where the working yarn is held in the right hand, and ‘thrown’ around the needle, and Continental style is where the working yarn is held in the left hand and ‘picked’ by the needle. In this tutorial below I demonstrate English style, which is often easier for beginners.

Step 1: Cast on the required number of stitches and turn your needle so that the working yarn is on the right hand side. This needle will be held in your left hand.

Step 2: Take the other needle in your right hand and insert it into the front of the first stitch from left to right.

Step 3: Pass the working yarn behind the right hand needle, and then bring it round the front of the needle from the left hand side. It will now be between the two needles.
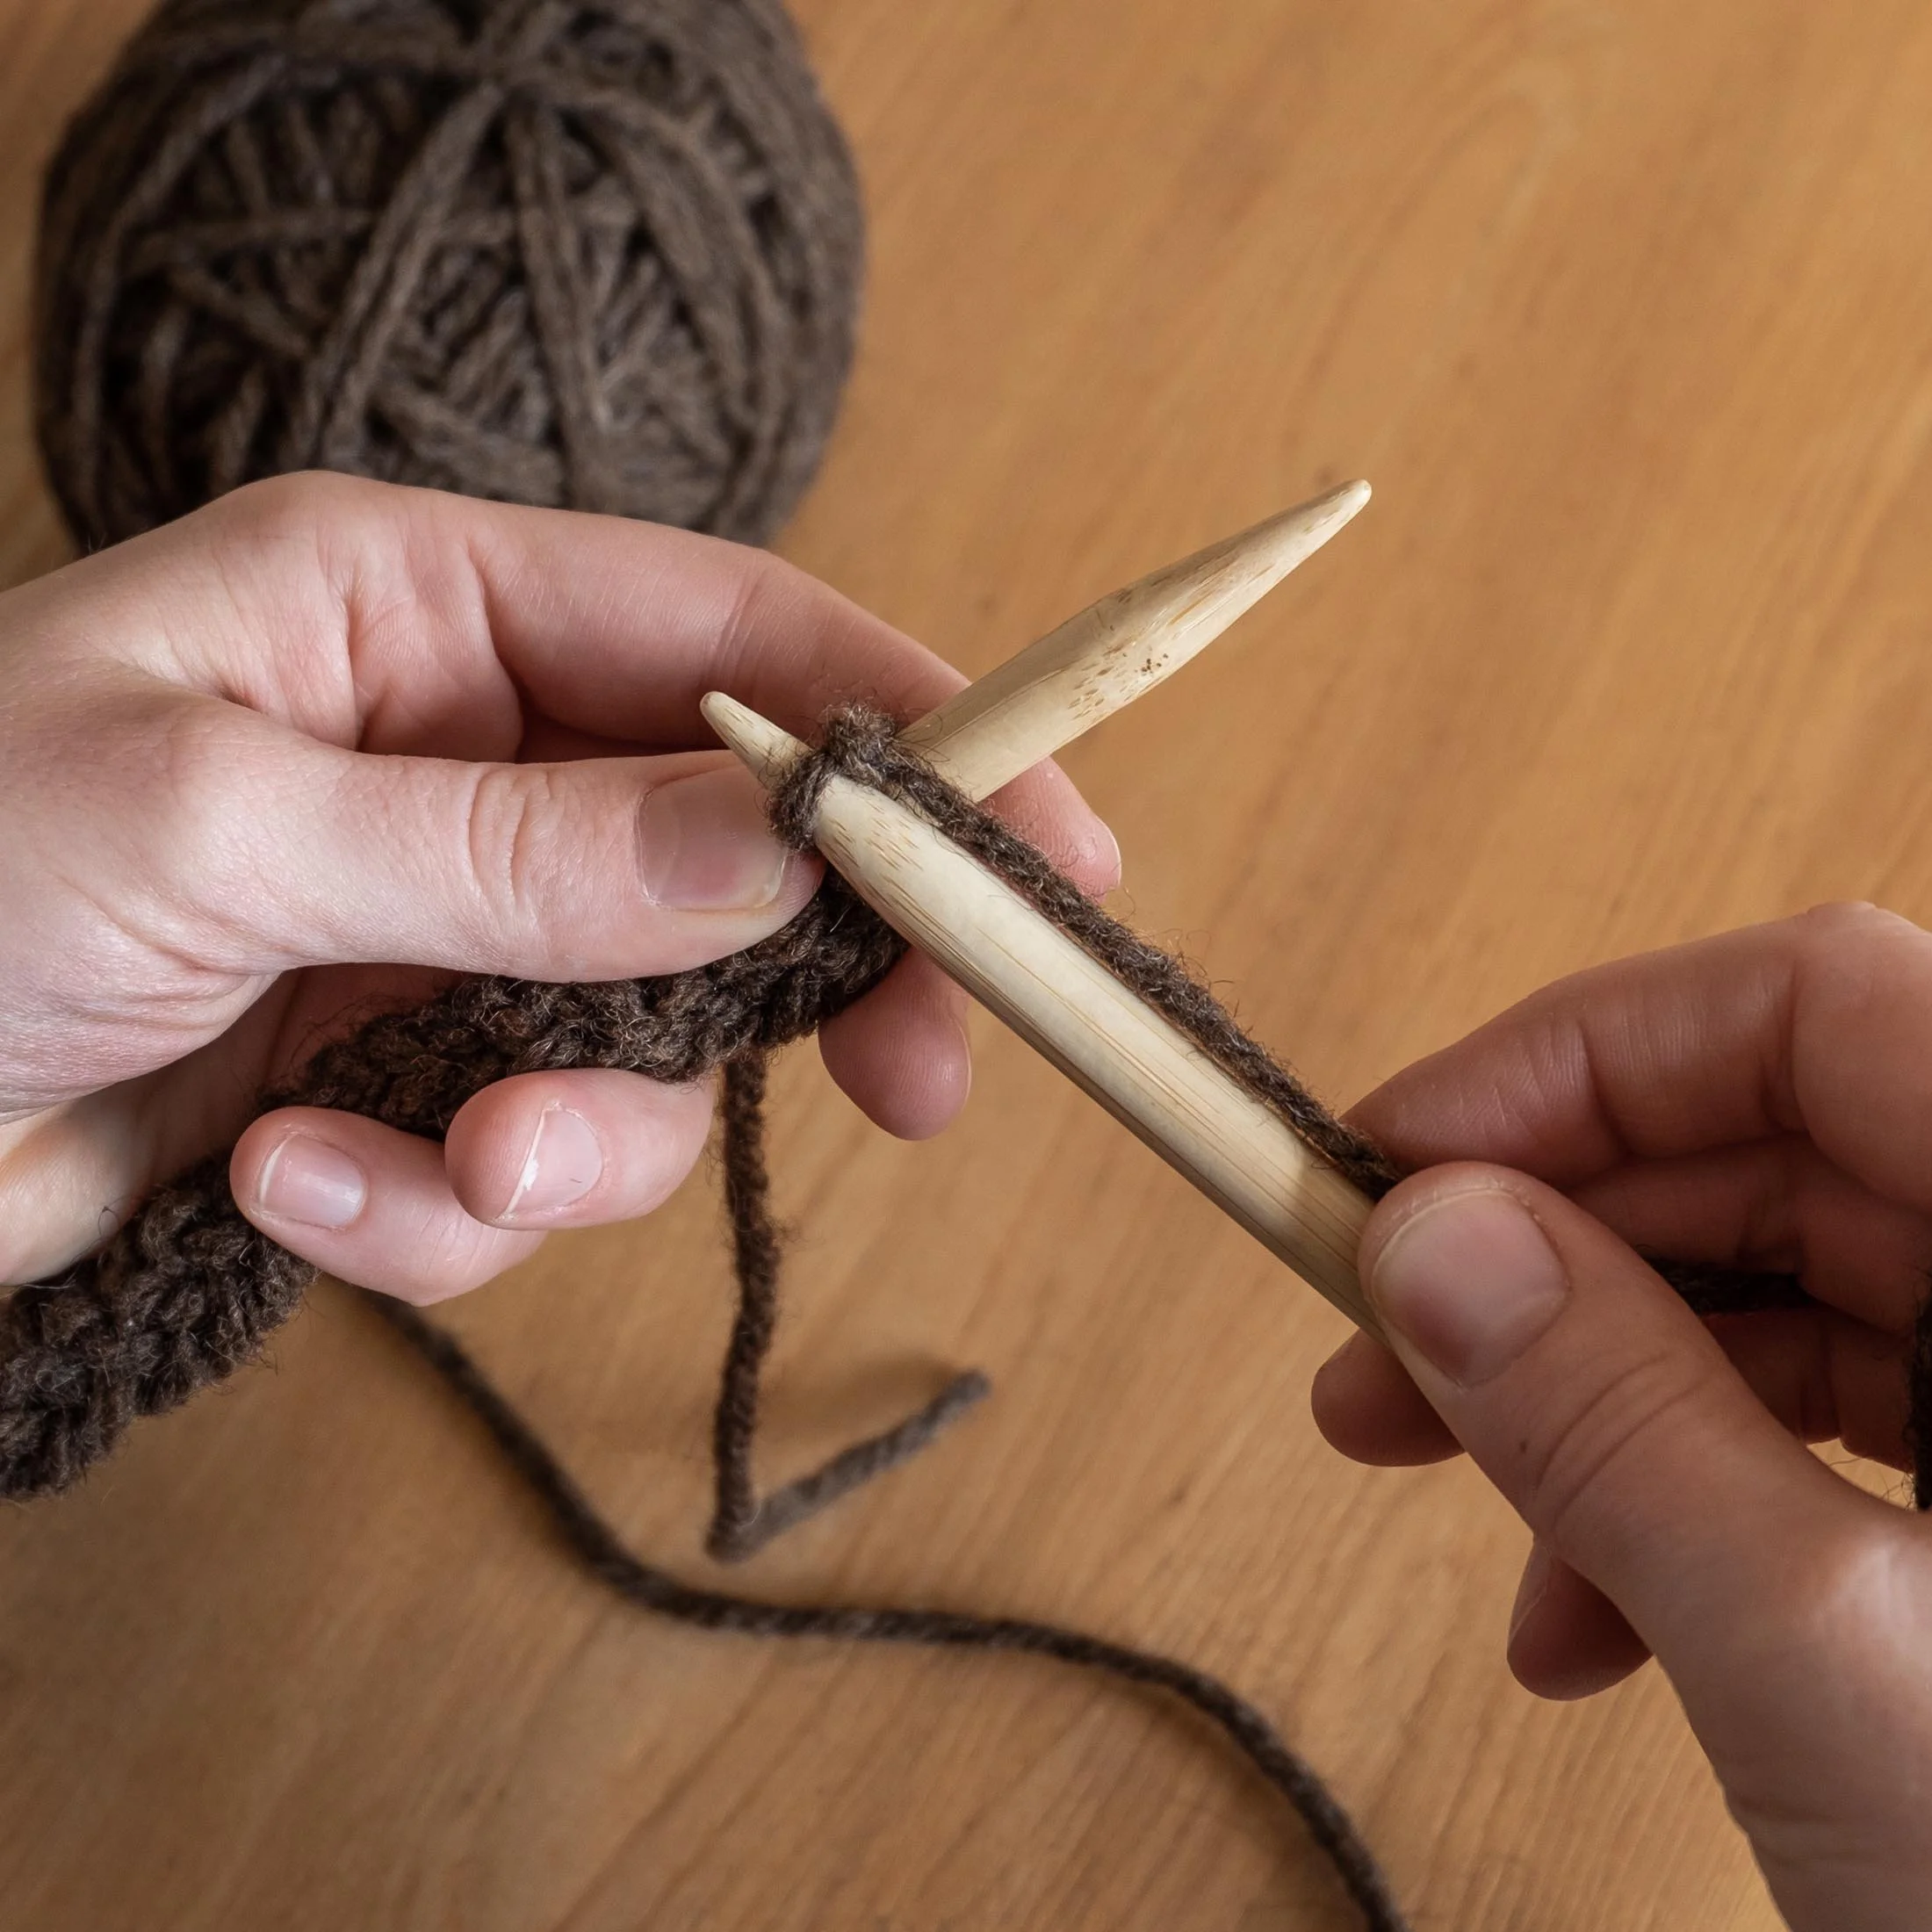
Step 4: The working yarn will make a new loop on the right hand needle. Use the right hand needle to pull this new loop through the first stitch on the left hand needle.

Step 5: Use your finger to slip the first stitch off the left hand needle.

You now have a new stitch on the right hand needle and one stitch fewer on the left hand needle. To continue, repeat steps 2-5 for each stitch on the left hand needle.

All the stitches on the left hand needle have been transferred to the right hand needle, and one row has been completed. At the end of the row swap the needle with the stitches into your left hand and hold the empty needle in your right hand. Work the next row of stitches in the same way.
That’s it! If you knit every stitch and repeat this on each row, the result will be garter stitch. Garter stitch gives a thick, reversible fabric, which doesn’t roll at the edges, making it perfect for a Chunky Garter Stitch Scarf.
Once you’re confident with the knit stitch, the next step is to learn how to cast off.